Advanced UITableViews Made Simple: YLTableView

-
Mason G., Software Engineer
- Jun 12, 2015
Let’s say you had a great new idea for a Todo app and set out to build an awesome iPhone application. After firing up your copy of Xcode, you’d probably start by creating a UITableView – a critical part of the iOS SDK that allows you to build scrolling views.
At Yelp, we’ve been playing around with different table view architectures for years. After a lot of trial and error, we’ve come up with a framework that easily scales from the simplest list all the way up to our business page. We’re open sourcing it today – check out YLTableView on GitHub!
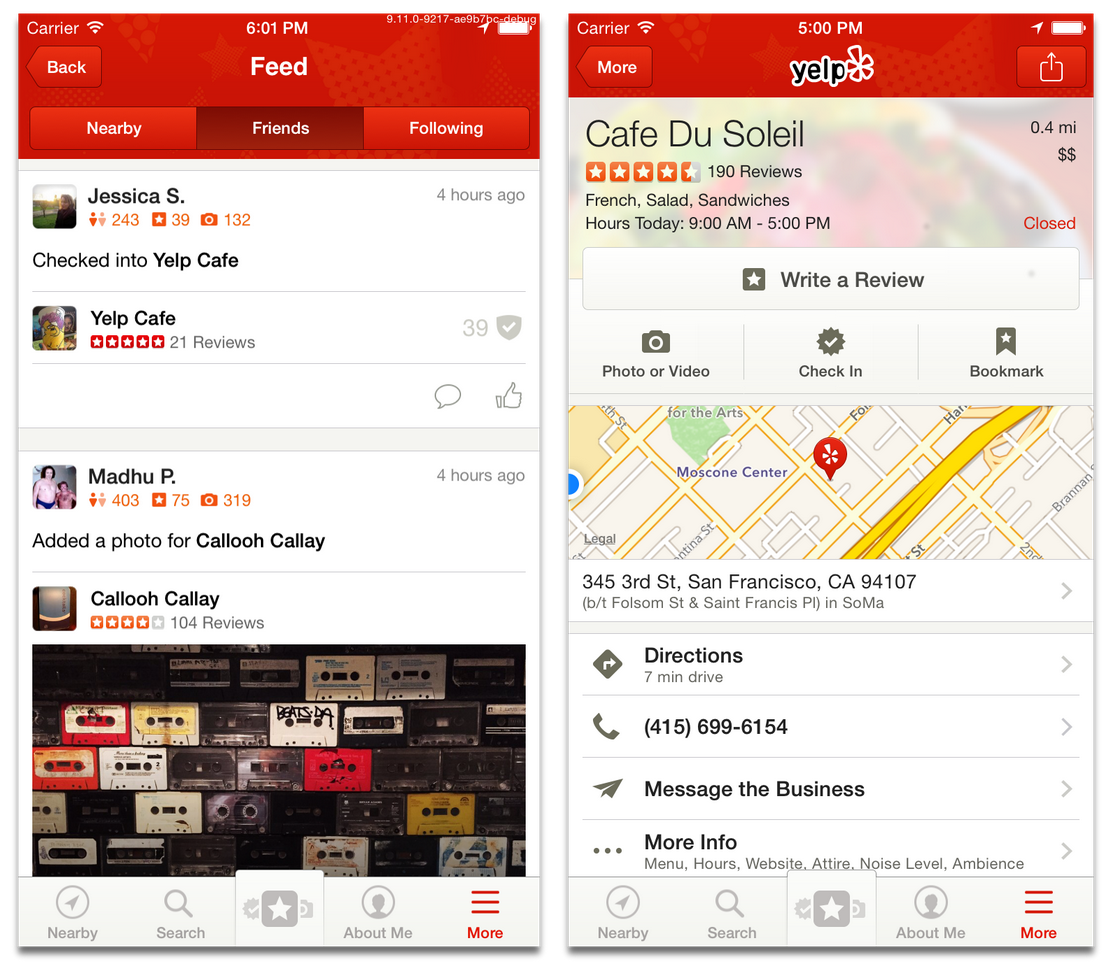
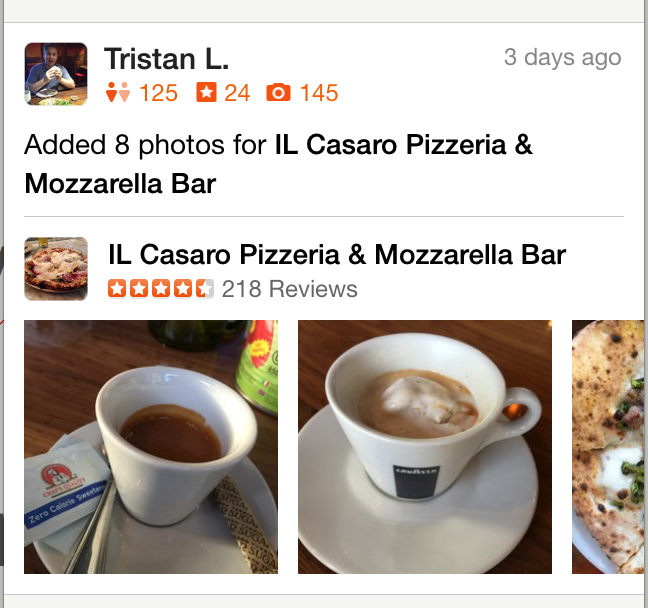
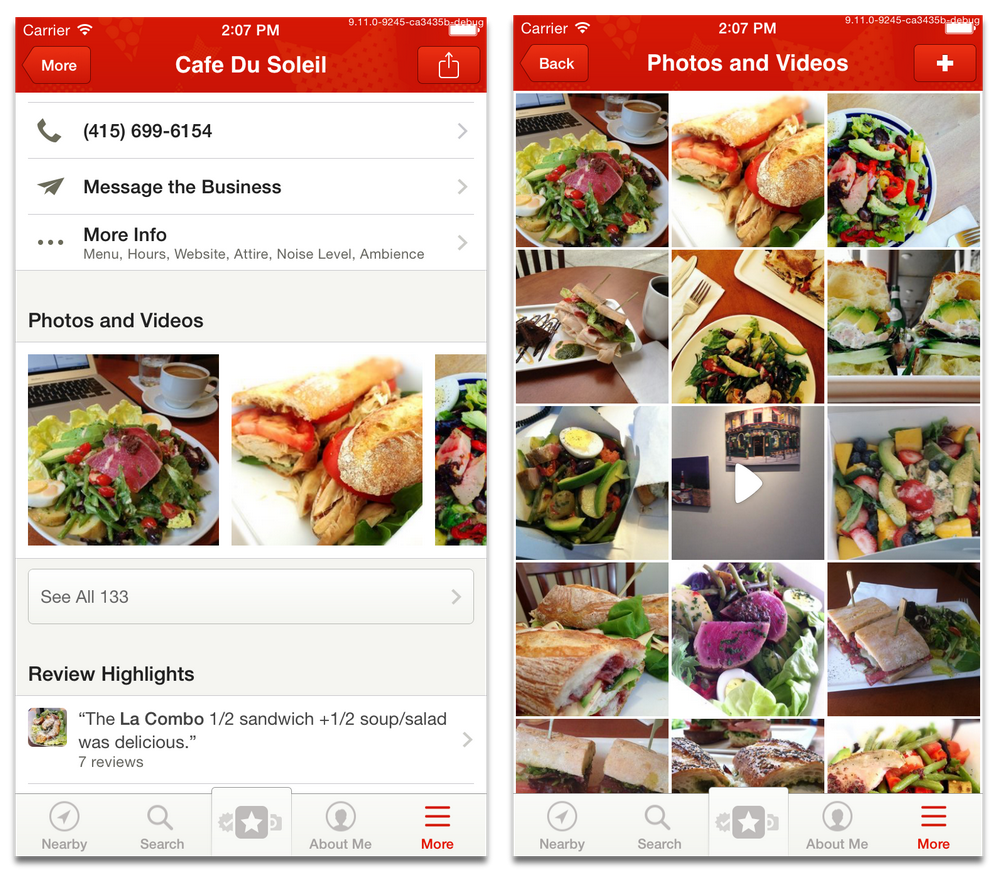
The Activity Feed and the Business View both make use of table views
A table view contains a number of sections, each of which can be separated by a small margin. Each section can contain an arbitrary number of cells. We use table views all over the Yelp app, in places like the business page and Activity Feed above. The feed contains a list of ‘items’ representing actions other users have taken – like posting photos or checking-in at a business. In the Activity Feed, each feed item is a single section made up of multiple cells.
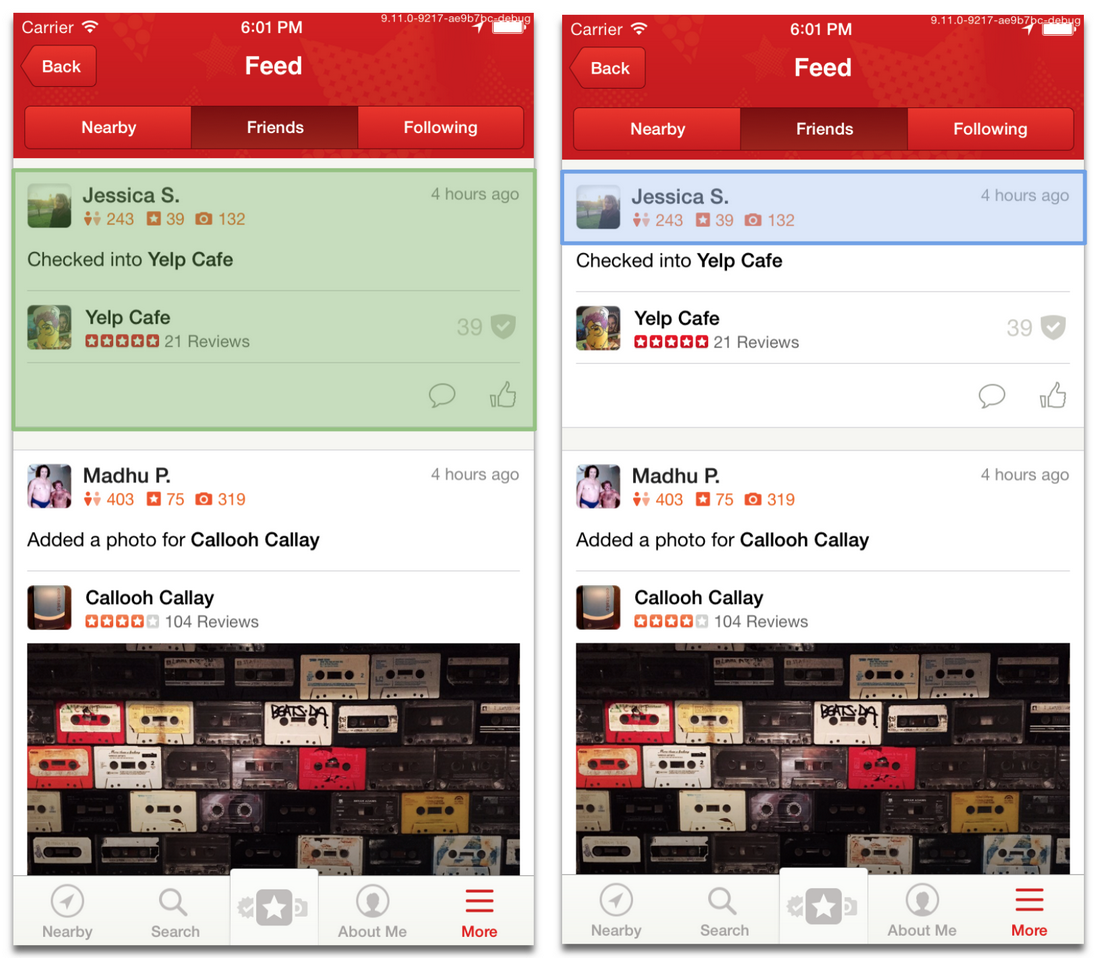
A section (green) has multiple cells (blue)
To implement something like the Activity Feed, you need to tell UITableView about the sections and cells in your table view by implementing a few methods from the UITableViewDataSource protocol:
However, you’re not done yet – if you want to have section headers or make your cells do something when tapped, you’ll need to implement some of the UITableViewDelegate protocol. The two protocols have a lot of overlap and it can get confusing really quickly. When trying to figure all of this out, you might come across UITableViewController, and end up with an architecture that looks like this:
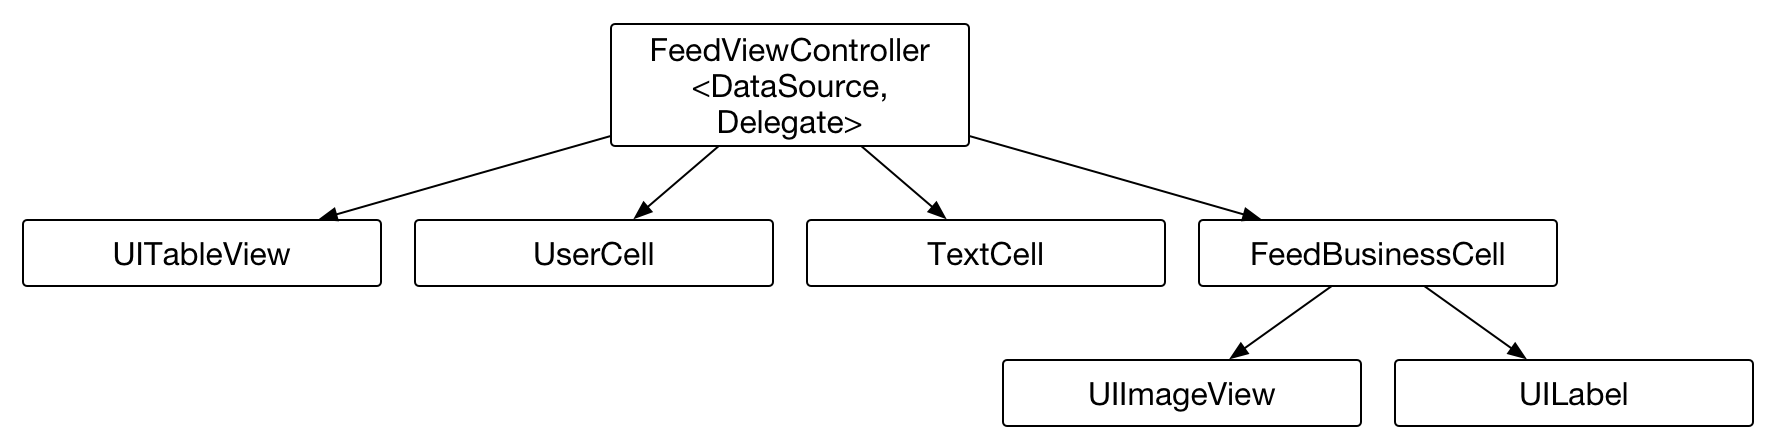
This might work for a while, but the view controller is going to get complex very quickly since it will violate the single responsibility principle. The view controller has to deal with loading content, micromanaging the table view cells, and pushing on new view controllers for cells. It might work for a small table view, but it’ll get complicated very quickly. Enter: YLTableview.
At it’s core, YLTableView works with a series of models. Each cell expects a given type of model and, once it’s given that model, is able to configure itself. Separating out the model helps encourage modularity through your application, and makes it easy to build interfaces out of common components.
To support the models, we’ve created YLTableViewDataSource which implements both UITableViewDelegate and UITableViewDataSource. The two protocols typically need the same data, and we’ve found that combining them helps simplify your code. To use YLTableViewDataSource, make a subclass and implement a few easy methods:
YLTableViewDataSource will then take care of creating the cell, configuring it with your model, and even telling the table view how tall it should be. When using YLTableView, your architecture will look a bit like this:
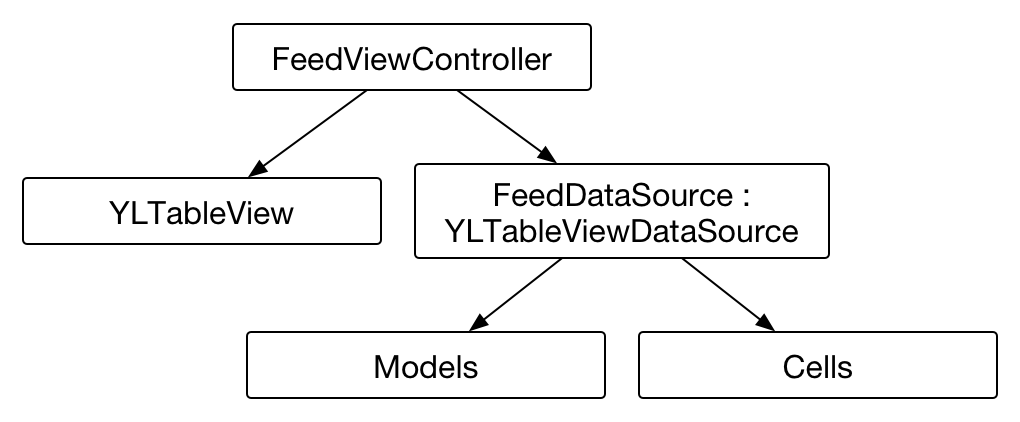
Unlike the UITableViewController design we looked at earlier, this architecture does a great job of separating out responsibilities. Your view controller loads content – like reviews or businesses – and passes them off to the data source. The data source then turns that content into table view models and displays them as cells. Before telling the view controller to take an action, the data source will translate the cell models back into content to pass to the view controller. The view controller doesn’t need to know anything about the models or cells: you could change your entire UI and it’s underlying data implementation without changing the logic in the view controller.
As we became better and better at building table views, we started to tackle some more complex cells. Take a look at this cell from the Activity Feed:
This cell has a swipeable photos cell. Swiping back and forth will reveal and load in more photos, while tapping on a photo will make it full-screen. As you can imagine, this is pretty tricky to do!
Our first approach to enabling complex cells like this was to have the cell delegate back to the data source, and the data source would delegate up to the view controller. This prevented the photos cell from being modular – every time you wanted to use it, you had to duplicate the entire chain of delegates. We knew there had to be a better way.

After thinking about it for a while, we decided to try creating child view controllers for our table view cells. Child view controllers allow you to add a new view controller to manage a subsection of your view. They behave like real view controllers and can push new view controllers onto the stack.
Normal table views don’t support child view controllers, but we figured out how to do it with YLTableView. Simply have your cell implement YLTableViewCellChildViewController and set the parent view controller property on your data source. Then, instead of having to deal with the mess of delegates, you have a much simpler view controller:

In addition to having a simpler architecture, this cell is now significantly more reusable. We can use it directly on the business page without having to duplicate any code. Taking it a step further, we can even use the PhotosViewController by itself. A little bit of configuration later, and we can now use the same view controller all over the app.
The cell's child view controller can also be reused by itself.
YLTableView has helped us simplify our architecture through the app. Using models has allowed us to build up a system of reusable components, making it easy to build interfaces out of common components. Using child view controllers has made this even more powerful, letting us reuse entire view controllers in table view cells. And, as more and more of our app is written with YLTableView, we’ve found that having a consistent architecture gives developers a base level of familiarity with features the haven’t worked on before.
Give YLTableView a shot, and let us know what you think!